This article is for an older version of HandBrake. All versions.
Dieser Artikel ist für eine ältere Version von HandBrake. Alle Versionen.
Adjusting quality
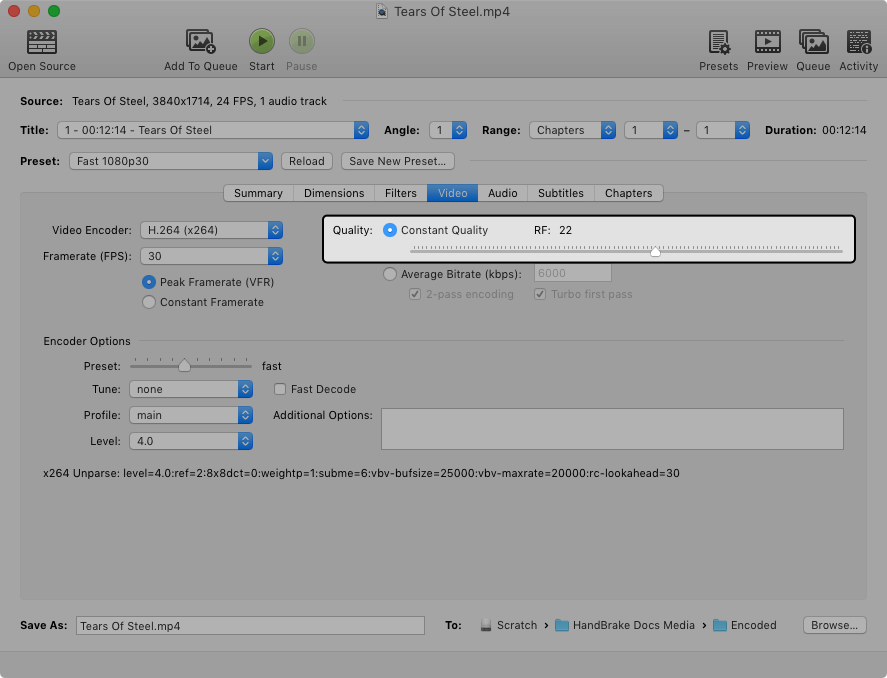
HandBrake’s default settings and most of the official Presets use a constant quality encoding method. This makes your new video look consistent from start to finish. Always use constant quality unless you have a specific reason not to.
You can use the default setting for the Preset you selected, or adjust the quality control higher or lower depending on your tastes. Increasing quality will make your new video take up more space on your computer or playback device, whereas reducing quality will typically make your new video take up less space.
Using the quality control
Most of HandBrake’s official Presets use the x264 or x265 video encoders with a Constant Rate Factor, sometimes abbreviated CRF or simply RF. A lower RF number produces higher quality video, and a higher RF number produces lower quality video.
You can think of the RF control in HandBrake as a quality control. To increase video quality, adjust the control toward the right. To reduce video quality, adjust the control toward the left.
Begin by making small adjustments. Plus or minus 1-2 RF is usually noticeable.
Recommended quality settings
Recommended settings for x264 and x265 encoders:
- RF 18-22 for 480p/576p Standard Definition1
- RF 19-23 for 720p High Definition2
- RF 20-24 for 1080p Full High Definition3
- RF 22-28 for 2160p 4K Ultra High Definition4
Raising quality minus 1-2 RF may produce better results when encoding animated Sources (anime, cartoons). Lower quality settings may be used to produce smaller files. Drastically lower settings may show significant loss of detail.
Using higher than recommended quality settings can lead to extremely large files that may not be compatible with your devices. When in doubt, stick to the recommended range or use the default setting for the Preset you selected.
Display size and viewing distance
Imperfections tend to be more noticeable at larger display sizes and closer viewing distances. This is especially true for lower resolution videos (less than 720p), which are typically scaled or “blown up” to fill your display, magnifying even minor imperfections in quality.
You may wish to slightly increase quality for viewing on larger displays (50 inches / 125 cm diagonal or greater), or where viewing from closer than average distances5. Reduced quality may be acceptable for viewing on smaller screens or where storage space is limited, e.g. mobile devices.
Next steps
Continue to Previewing your settings.
- SD video has a resolution of 720x480 or fewer pixels (720x576 for PAL). DVDs, small web videos, and most analog sources are SD.↩
- 720p HD video has a resolution of 1280x720 pixels. With three times the resolution of SD, and about half that of 1080p HD, 720p HD is commonly used by consumer video cameras, web videos, and broadcast TV sports.↩
- 1080p HD video has a resolution of 1920x1080 pixels—twice the resolution of 720p and six times the resolution of 480p. 1080p HD video is commonly used by mobile phones and tablets, consumer and professional video cameras, and Blu-ray.↩
- 2160p UHD video has a resolution of 3840x2160 pixels and is four times the resolution of 1080p. 4K video is used by high-end mobile phones and tablets, consumer and professional video cameras, and 4K Blu-ray.↩
- Learn more about optimum viewing distances for high definition TV displays.↩
