This article is for an older version of HandBrake. All versions.
Dieser Artikel ist für eine ältere Version von HandBrake. Alle Versionen.
Resizing Video
Picture Settings
The picture settings tab is located on HandBrake’s main window and becomes active after you’ve scanned a source.

Anamorphic
Typically recommended that you leave this on “automatic”. If your source is not anamorphic, having this set to an anamorphic option will not affect the output. Thus, it is safe to leave on.
When “Automatic” is selected, HandBrake will maximise the output size of the video, up to the source resolution or set “Resolution Limit”.
When “Off” is selected along with unchecking “Optimal Size”, you can alter both “width” and “height”. Otherwise, the source size, or resolution limit will be used.
When “Custom” is selected, you have full control of the output dimensions.
Upscaling
While upscaling is NOT recommended, there are some instances where it is useful (i.e. uploading to YouTube). To enable this, check the “Allow upscaling” checkbox. The “Resolution Limit” will still be honoured.
Cropping
HandBrake by default will try and detect and crop black bars from the video. Encoding black bars increases the encode time and the amount of disk space required, so it’s best to let HandBrake remove them.
HandBrake’s auto-crop is not perfect. It’s giving you a best guess at what the crop values should be. If you find it gets it wrong, which is not that common, you can adjust them by selecting the “Custom” option.
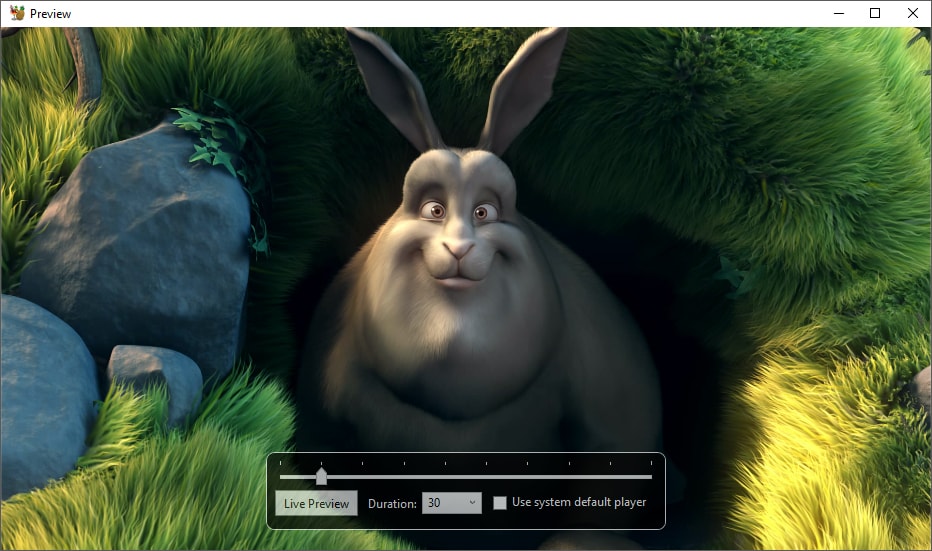
You can preview the effect of your adjustments by clicking the “Preview” button on the toolbar.

The preview window will then appear and will display in real-time any changes you make on the picture settings screen. If the size of the output exceeds the window size, the preview window will scale it to fit to screen.